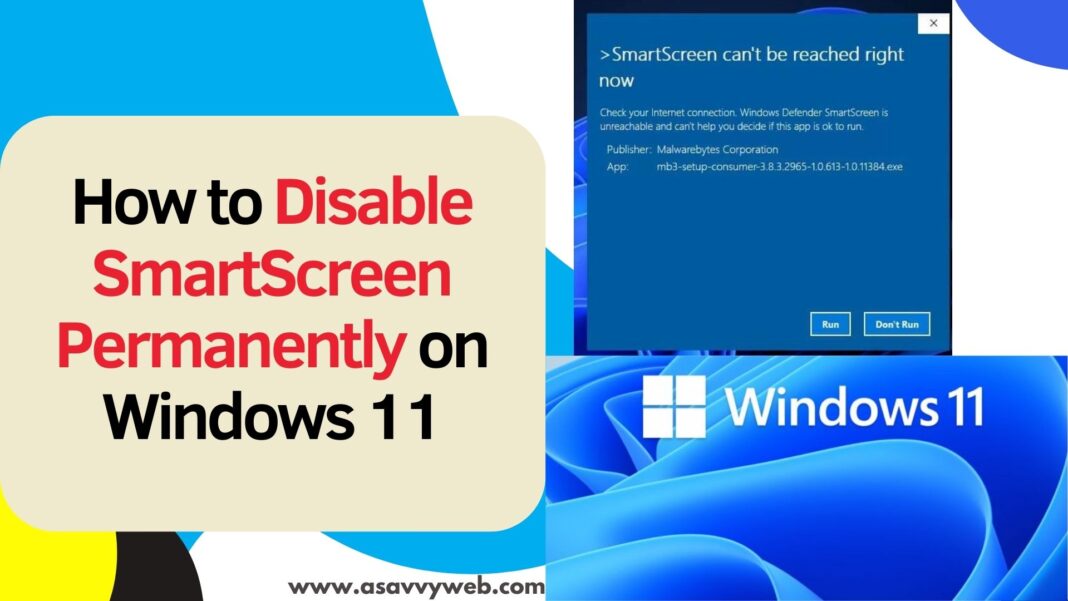
Windows 11 smartscreen helps your computer from phishing websites, malware websites and it will not allow you to install softwares or apps which contain malware or virus in particular software and it also helps cloud phishing and malware and protects your windows 11 computer.
If you are looking to Disable SmartScreen Permanently on Windows 11 on your computer for few reasons like slowing down you windows 11 computer or if you are unable to access few websites or you want to install application or software then you can disable smartscreen permanently and install apps or install softwares on windows 11. So, lets see in detail below.
What Does Smartscreen do on Windows 11?
It protects your windows 11 computer from phishing and malware and its a microsoft product comes with windows 11 installation and its included in microsoft edge browser, outlook and its a cloud based security feature on windows 11 computer.
Disable SmartScreen Permanently on Windows 11
Follow below simple steps and disable smartscreen permanently on your windows 11 computer.
Using Windows Security Settings
Step 1: Click on Start Menu and Click on Settings
Step 2: On left side menu -> Click on Privacy and security
Step 3: Click on Windows Security
Step 4: Click on App and Browser Control and new window will appear on your windows 11 computer
Step 5: Click on Reputation based protection settings and you need to turn off smart screen settings here by unchecking and turn off settings.
Step 6: Disable All enabled options here like check apps and files, smartscreen for Microsoft edge, phishing protection, potentially unwanted apps blocking, and all other enabled options.
That’s it, this is how you disable smartscreen temporarily on windows, if you want to enable these option if you want to enable smartscreen on windows 11 computer and to disabled permanently you can follow these below methods.
Also Read:
1) Windows SmartScreen Can’t Be Reached Right Now
2) How to Fix Windows Defender Update Failed on Windows 11 or 10
3) How to Fix Windows Defender Error Code 0x80240438 The Definition Updates Could Not Be Installed
4) How to Disable or Turn Off Windows Defender in Windows 11 or Windows 10
5) How to Turn off Windows Defender in windows 10 (2024)
Using Policy Editor
Step 1: Press windows + R on your windows keyboard and it will open run dialog box and then type gpedit[.]msc (remove square brackets) and hit enter.
Step 2: Local group policy editor window will appear -> on left side menu -> Under Computer Configuration -> Expand Administrative Templates
Step 3: Now, Expand Windows Components -> Scroll down and find Windows Defender Smartscreen and expand it.
Step 4: Now, Click on Explorer and on the right side you will see Configure Windows Defender Smartscreen and double click on it and new windows will appear
Step 5: Now, select Disabled Option here and click on apply and ok.
Step 6: Now, on left side menu -> Click on Microsoft Edge and then on right side menu click on Configure Windows Defender Smartscreen and select Disabled option and click on apply and ok.
Now, after making changes in windows defender smartscreen settings in local group policy and disable it and then restart your windows 11 computer and windows 11 smartscreen will be disabled permanently.

