
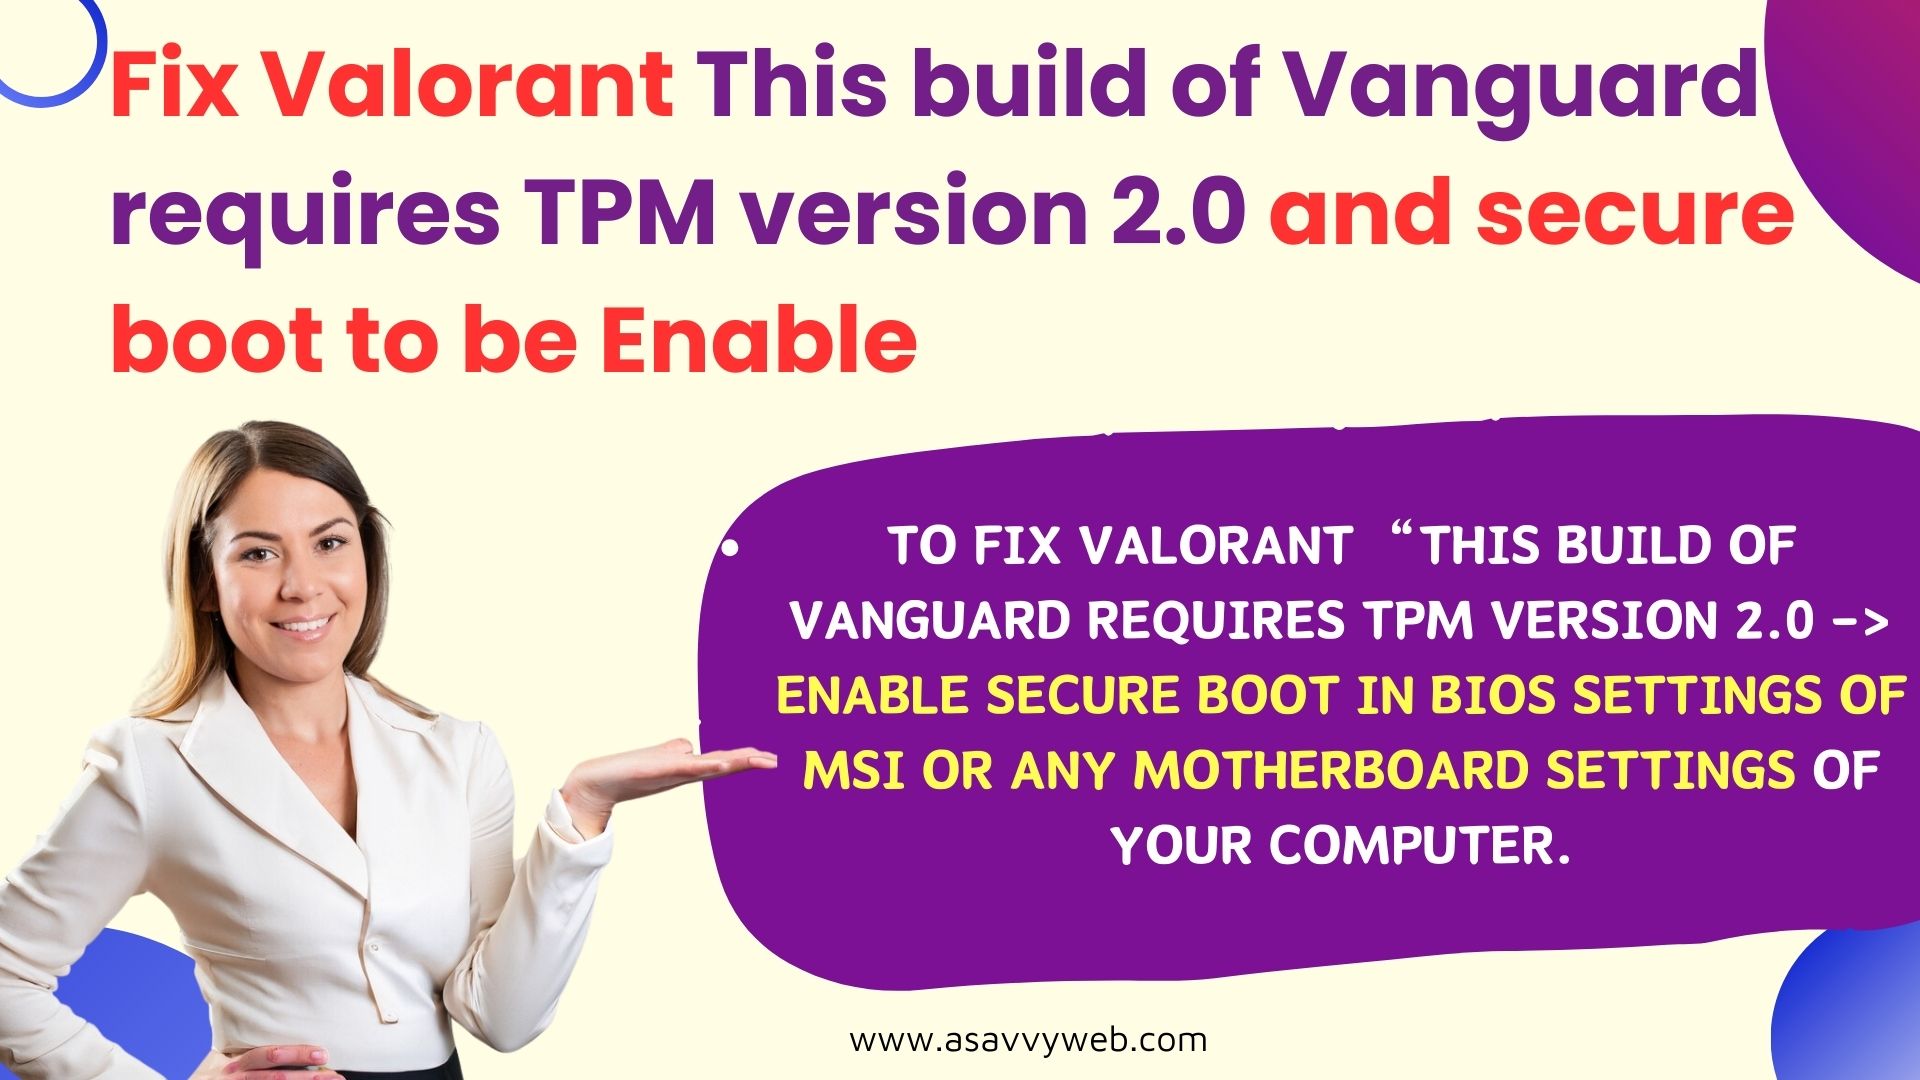
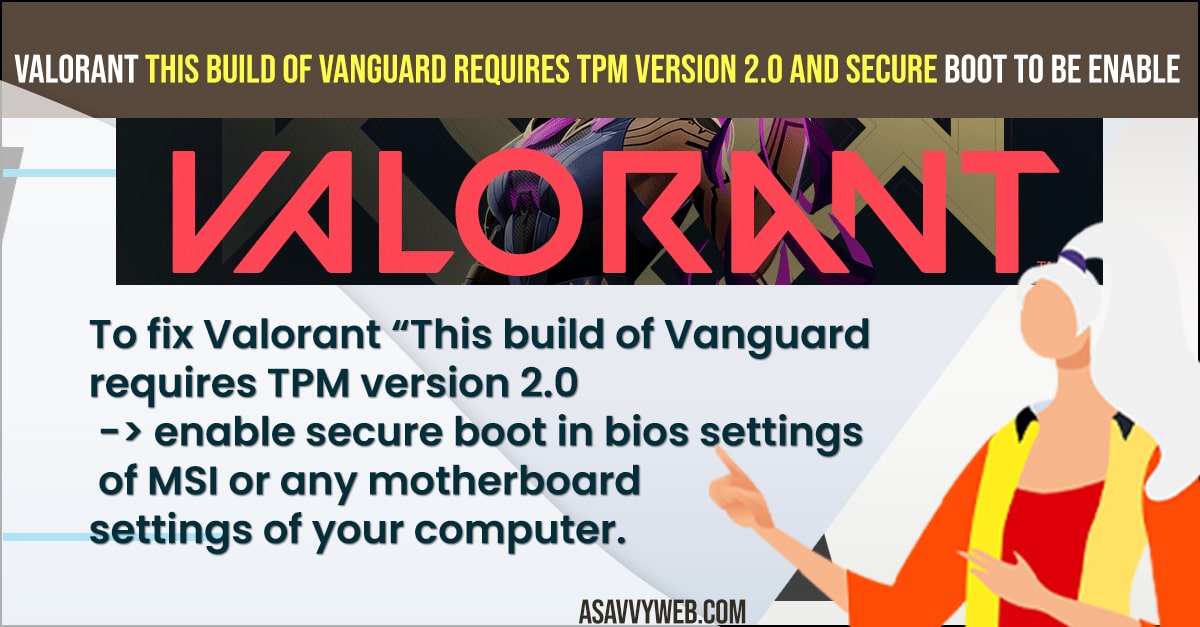
Enable secure boot in bios settings of MSI or any motherboard settings of your computer.
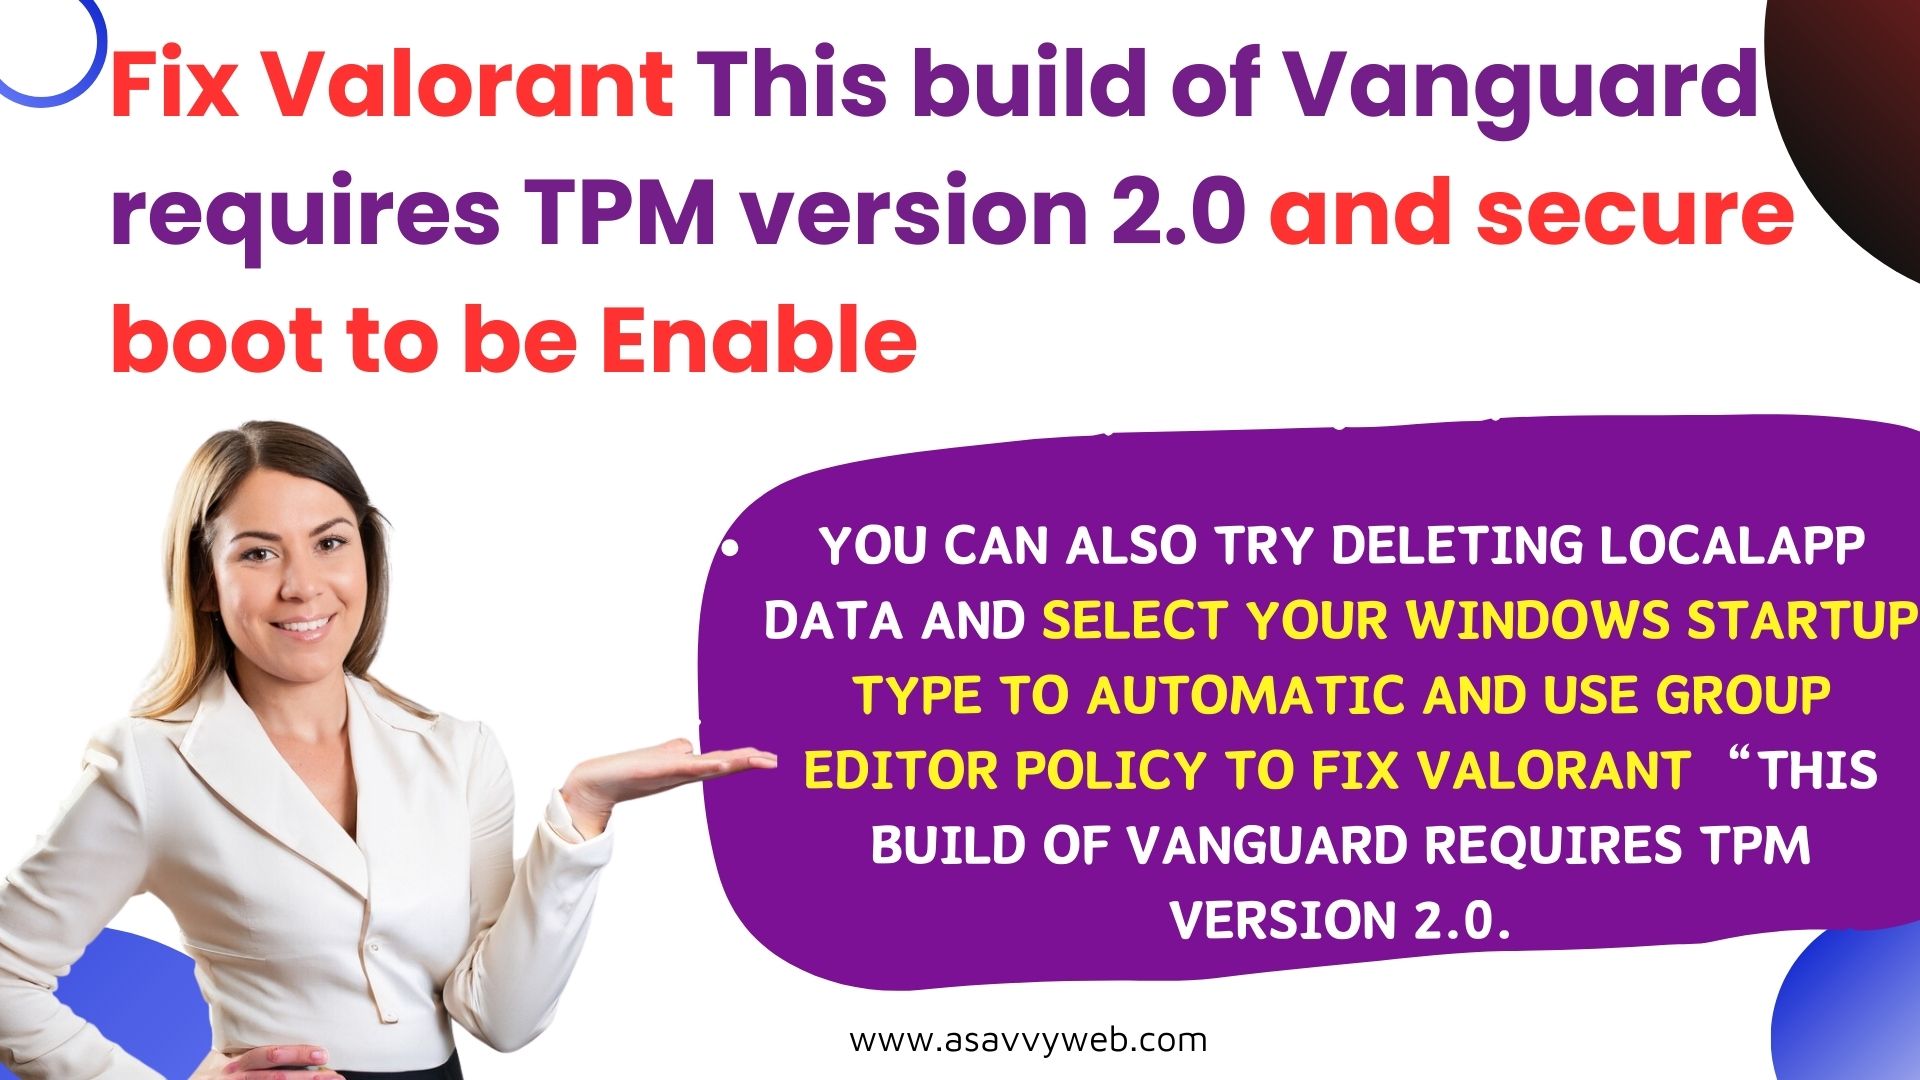
You can also try deleting localapp data and select your windows startup type to automatic and use group editor policy to fix Valorant “This build of Vanguard requires TPM version 2.0.
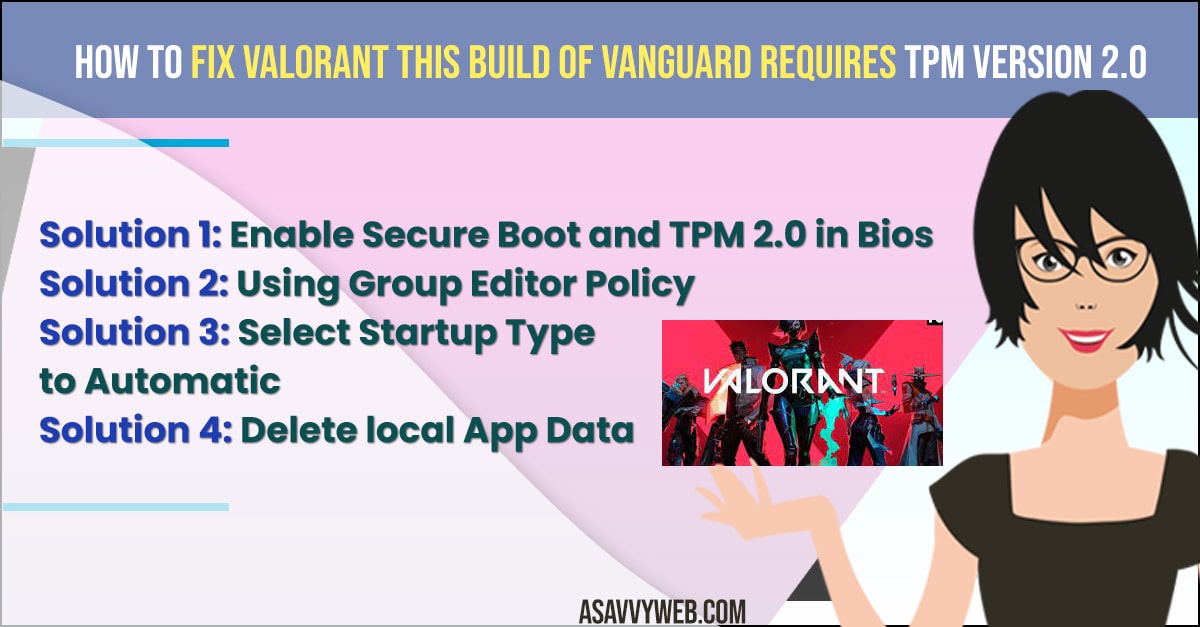
- Solution 1: Enable Secure Boot and TPM 2.0 in Bios
- Solution 2: Using Group Editor Policy
- Solution 3: Select Startup Type to Automatic
- Solution 4: Delete local App Data
- Why Valorant This build of Vanguard requires TPM version 2.0 and secure boot to be enable
- Why does Valorant say I need TPM 2.0 when I already have?
- How do I Bypass TPM 2.0 and Secure Boot Requirements?
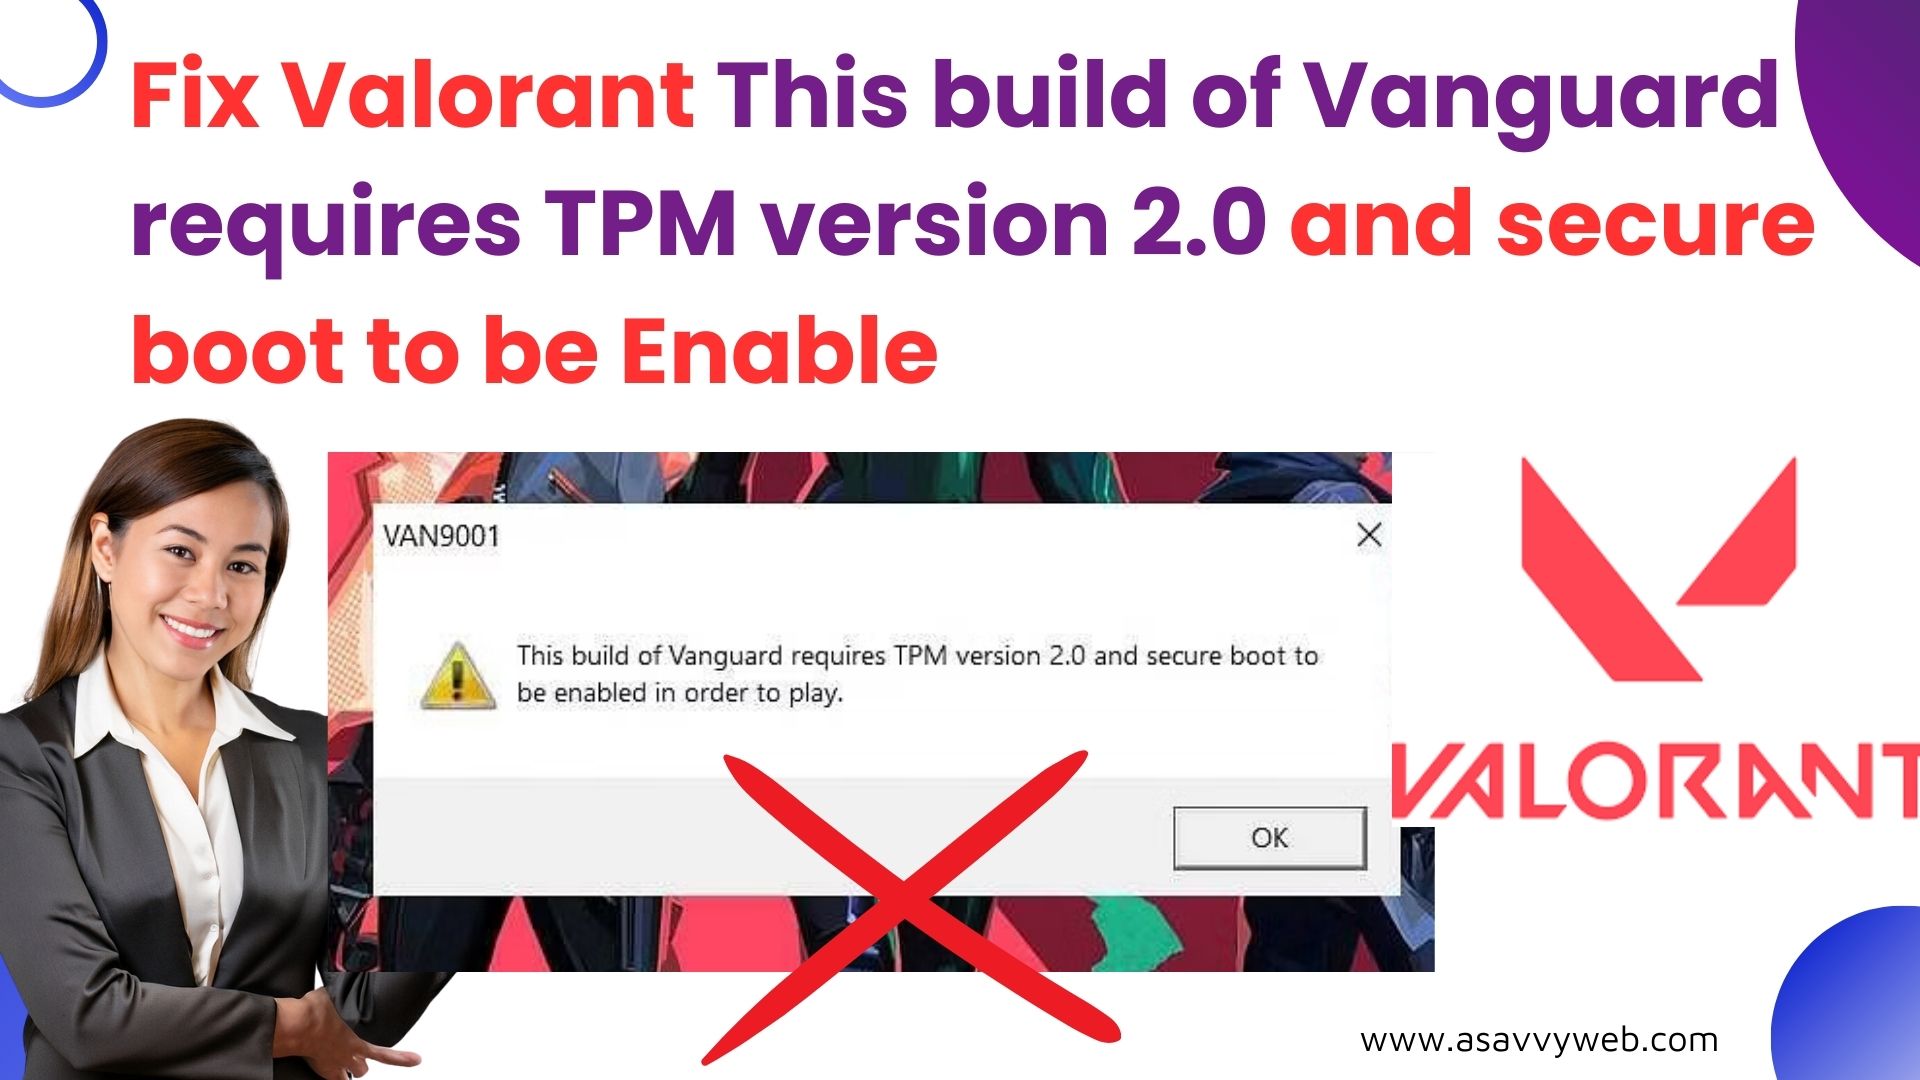
When you are playing Valorant game on your computer and you suddenly get an error message in popup saying an error message occurred “This build of vanguard requires TPM version 2.0 and secure boot to be enabled in order to play” then you can fix Valorant game issue or valorant game requires a system restart error or Valorant not launching or DirectX Runtime error can be fixed easily by just following these simple methods.
You may need to install valorant without vanguard to get rid of this error and tpm 2.0 is necessary to run valorant on your windows 11 or 10 and you need to enable tpm on your windows computer in bios settings.
Fix Valorant This build of Vanguard requires TPM version 2.0 and Secure boot to Enable
Below are the solutions to fix valorant and TPM version 2.0 issues on windows 10 or 11 and fix issues with valorant on windows 11 or 10.
Solution 1: Enable Secure Boot and TPM 2.0 in Bios
Step 1: Restart your windows 11 or 10 computer.
Step 2: Press the bios key on your keyboard while your computer is restarting and press del button or F10 or F2 or F12 key to enter bios on your laptop and note that these keys will differ depending on your laptop Company manufacturer.
Step 3: Now, Go to Advanced Option in Bios.
Step 4: Go to settings of the motherboard and select the security option on the right side.
Step 5: Now, click on Trusted Computing TPM related options.
Step 6: Select Security device support and enable this option.
That;s it, this is how to enable secure boot and tpm 2.0 in bios on any laptop or windows pc and fix Valorant error, this build of vanguard requires tpm version 2.0 and secure boot to be enabled.
You May Also Like
1) Solved: Valorant DX11 Feature Level 10.0 is Required To Run The Engine
2) How to Enable Discord Overlay on Steam
3) Solved: Roblox Error Code 286 Your device does not have enough memory to run this experience
4) How to fix Minecraft Launcher Not Working BUG?
5) How To Fix Nintendo Switch 2618-0203 Error
Solution 2: Using Group Editor Policy
Step 1: Open your windows search bar then type edit and click on edit group policy then the edit group policy editor is displayed on the screen
Step 2: Click on Administrative Templates which is displayed on the left side of the screen and then click on Windows Components on right side of the screen
Step 3: Now click on BitLocker Drive Encryption and then double click on Operating System Drives and then double click on Require Additional Authentication at startup.
Step 4: Click and allow the enabled radio button under required additional authentication at startup
Step 5: Click on the Checkbox under options and Allow the Bitlocker Without a Compatible TPM
Step 6: under configure TPM startups drop down and select allow TPM and under, configure TPM startup pin drop down and select allow startup PIN with TPM and under configure tpm startup key drop down and select allow startup key with TPM and under configure TPM startup key and pin drop down and select allow start up key and pin with TPM and finally click on ok.
Solution 3: Select Startup Type to Automatic
Step 1:Open your windows search bar then type services and double click on it then the services(local) screen is displayed.
Step 2: Scroll down the screen and right click on vgc and select properties then vgc properties (local computer) screen is displayed
Step 3: Click on startup type and drop down to select automatic and click on apply and then click on ok.
Solution 4: Delete local App Data
Step 1: Open windows Search Bar type Run and double click on it then the dialog box is appears on the screen then type %LOCALAPPDATA% and click on ok
Step 2: After that right click and refresh then double click on the valid folder and then double click on saved,double click on the logo and select all items and press shift plus delete to delete them, on address bar click on saved and select config and then select CrashReportClient and select items and delete them.
Why Valorant This build of Vanguard requires TPM version 2.0 and secure boot to be enable
If your windows pc or laptop tpm secure boot is not enable in bios setting then your will get this error of Valorant “This build of Vanguard requires TPM version 2.0 – secure boot to be enable in pop up message.
Why does Valorant say I need TPM 2.0 when I already have?
You need to enable both TPM 2.0 and secure boot to play Valorant and if it is disabled then you will get error message this build of vanguard requires tpm 2.0 and if you are having outdated window version or outdated drivers or windows defender security and firewall settings blocking Valorant.
How do I Bypass TPM 2.0 and Secure Boot Requirements?
On your windows computer -> Go to BIOS settings and Enable the ‘Secure Boot’ and ‘TPM 2.0’ options on your windows 11 computer if you are having older version of BIOS then its pretty complicated to bypass tpm 2.0 secure boot requirements when playing Valorant game on Windows 11 or 10 computer.