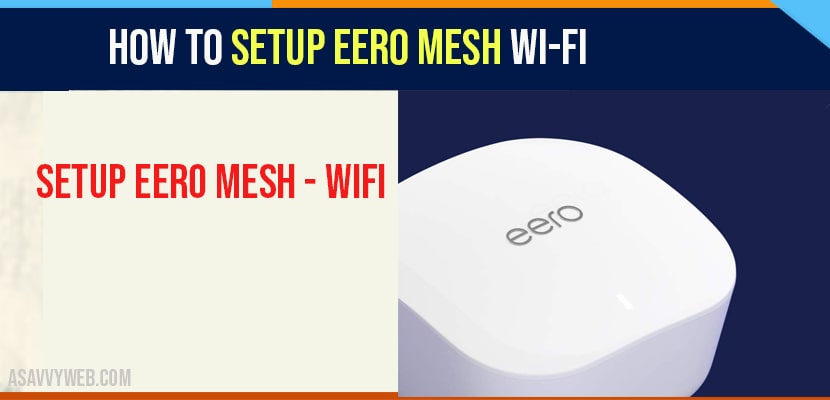
If your house has weak spots and dead WI-FI zones then you can go for router setup with a mesh Network like Eero WI-FI system. Eero mesh WI-FI can provide strong Wi-Fi signals.
What is Eero?
Eero means “Wi-Fi system” , nothing like a few routers connected together in order to provide your house with the best WI-FI signals. You can proceed this with a regular router and extender Wi-Fi, but the setup process is more complicated. Depending upon extenders, you have to end up with secondary wifi network that you have connected certain parts in house, but with Eero it is very simple. You have to spread this units around tour house and connect them into the wall.
How to Setup Eero Mesh WIFI
Now, you can start setting up your Eero system.
Download the Eero App
- First you have to download and install Eero app on your smartphone and it is available on iOS and Android.
Create an Eero account:
Step 1: After download, open the app and click on “setup Eero”.
Step 2: On Next screen, you have to create an Eero account by entering your Eero details like mobile number, name and email address. Then tap on “next” when you done.
Step 3: After that you will receive a verification code to your phone number. Enter the “code” in it and click on “next”.
Step 4: Now, you are ready to setup Eero wifi system. Click on “start” button at bottom of screen.
First Install Eero Unit
Step 1: First you have to disconnect modem and current router.
Step 2: Take your first “Eero unit out” of box along with “ethernet cable” and “power cable”.
Step 3: Take ethernet cable and connect one end of ethernet port to “Eero device” and other end to a free ethernet port to your “modem”.
Step 4: Connect your modem back into the wall and Eero unit into “free outlet”.
Step 5: Wait for sometime until small LED light on Eero unit wall blink “blue colour” and then click on next to start up your Eero screen.
Step 6: This app will search for Eero when it is found it will display green check mark. Click on “next”.
Step 7: Select the room where the Eero is and it have many options including living room, kitchen, bedroom etc. But you can choose custom at bottom and enter your own room name.
Step 8: The Eero will setup and it will display other green check mark in app. Hit on “next”.
Create New WI-FI Network
Step 1: If you are done with above steps, now you have to give your new WI-FI network name and password. Tap on “Next” once you done.
Step 2: It will take few minutes to “setup” and click on “Next” . Then it shows success screen appears.
Install any Additional Eero Unit
Step 1: If you want to setup another Eero unit in your house the click on Add another Eero.
Step 2: It is very simple and you need to connect second Eero unit into outlet and it suggest to place within 40 feet of first unit. Scroll down to bottom and click on “next”.
Step 3: But the setup is same as first Eero unit and simply repeat the above steps to setup the other Eero unit.
Step 4: After finishing setup all Eero units go back to screen. It asks you that still you want to setup more, then just click on “No, Iam all set”.
Update Eero if Necessary
Updating of Eero app is likely available. So, click on update now at top.
Step 1: Click on “yes, update now” at bottom. Update process will take 10 to 15 minutes.
Step 2: But the network will go down during that time.
Step 3: After update is complete, you can start using Eero and connect to new WI-FI that you created.
Step 4: The Eero app acts main control interface for your WI-FI network. Now you can also see what connected to your network, “allow guest access” and even “set parental time” limit on certain users.
Step 5: If you have other devices to connect to ethernet like network drive or smart home hubs, you can connect those to ethernet port at back of any Eero unit.
That’s it, now your euro mesh setup have been completed and you can notice huge difference in your WI-FI signals and speed once you switch with your Eero network.

