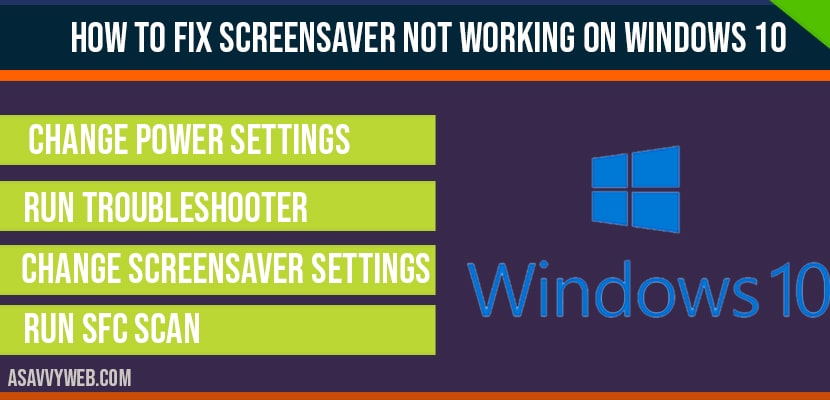
In Windows 10/11, if your desktop screensaver and its settings are not functioning correctly and the screensaver fails to display, you can resolve this issue by following a few straightforward steps. Let’s examine these steps in detail.
Screensaver not Working on Windows 11/10
Follow below methods to resolve screensaver not working or not showing issue on windows 11/10 laptop or computer.
Enable Screensaver Settings
Step 1: CLick on windows search and type settings and open windows settings
Step 2: Click on Personalization option
Step 3: Select Lock Screen
Step 4: Click on Screen Saver Settings and select Screensaver settings and set timer and change settings here, which suits you.
After changing screensaver settings, go ahead and set screensaver and it will apply on your windows laptop or computer.
Change Power Settings
Step 1: Click on start menu and type control panel and open control panel
Step 2: Select power options
Step 3: Now check power saver and click on change power plan settings
Step 4: Now click on restore default settings for this plan and click yes for confirming restore default settings.
Step 5: Now close control panel and restart your computer.
Run Troubleshooter
Step 1: Go ahead and click on start menu and type in troubleshoot and open troubleshoot settings.
Step 2: Once you open troubleshoot settings on the left side pane click on troubleshoot
Step 3: Now, On the right side scroll down and under section find and fix other problems and seclet power.
Step 4: Click on select power and click on run trouble shooter.
Now troubleshoot will find issue with settings of screensaver not working on windows 10 computer and fix the issue and apply the necessary instruction if detected on running trouble shooter.
Change Screensaver Settings
Step 1: Type in screensaver in windows 10 search
Step 2: Open turn screensaver on and off
Step 3: Make sure that your screensaver is not selected to none.
System file checker (SFC)
Step 1: Type in cmd in windows search and open cmd and run as administrator
Step 2: now type sfc /scannow and hit enter
Step 3: system file checker will take some time to scan.
Step 4: Once sfc scan completes go ahead and restart the computer.
Once you follow all the above solutions, your issue of screensaver not working issue will be resolved.
This may be due to power options set incorrectly, go ahead to control panel and restore power option to default and fix this issue.
There are couple of different methods to fix this issue, change power settings, run trouble shooter and fix by sfc scan to fix this screensaver not working on windows 10

