
Once you have downloaded and installed Yoast SEO for WordPress and successfully activated Yoast seo plugin then next step is to setup Yoast for WordPress and configure Yoast as per your website needs, there are many options provided by Yoast plugin and often leads to misunderstanding and misleading, so it’s important to configure and setup Yoast seo for WordPress properly, se lets see in details below.
How to set up Yoast SEO for WordPress:
Step 1: Login to your WordPress admin dashboard and on top you will find Yoast setting bar, click on dropdown and click on configuration wizard.
Step 2: Now, You will be prompted with Yoast SEO for WordPress configuration wizard. Click on configure Yoast SEO and follow on screen instructions which suits your website best.
Note: if you have accidentally chose wrong options then you can change these settings later as well, so no need to worry.
Yoast SEO Environment:
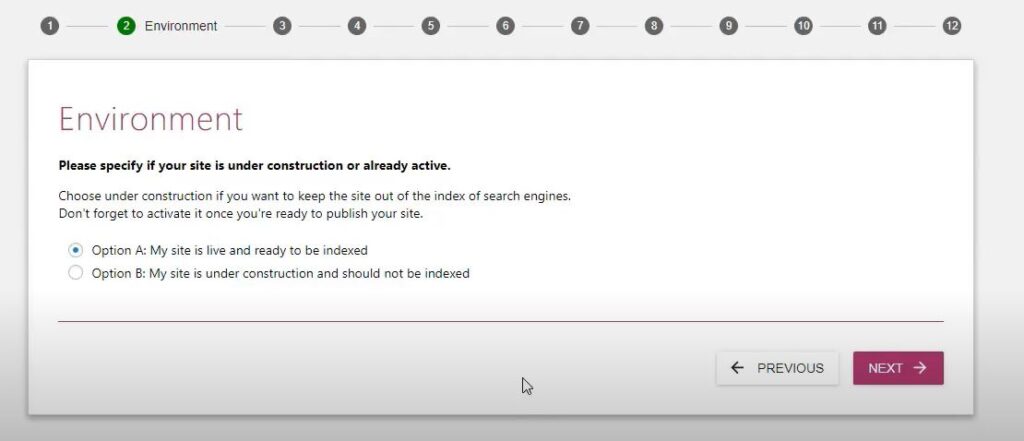
Now choose the environment -> If you website is live and ready for indexing then choose option A and if your website us under construction then choose option B and Click Next.
Yoast SEO Site type:
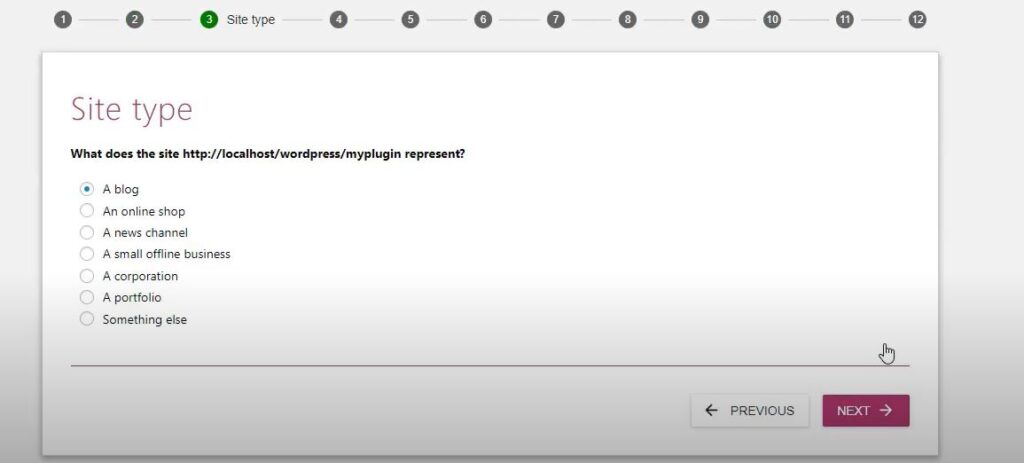
Now choose your site type from options provided by yoast which suits your website best: if it’s a blog ->choose blog.
If it’s a online shop->choose an online shop
If it’s a news channel ->choose option – news channel
If it’s a small offline business -> choose option -> offline business
If it’s a corporation->choose option corporation
If it’s a portfolio -> choose portfolio
If you don’t have best option which suits best for your website then you can choose option something else option here.
Once you choose your Yoast SEO site type click on Next.
Yoast SEO Company or Profile:
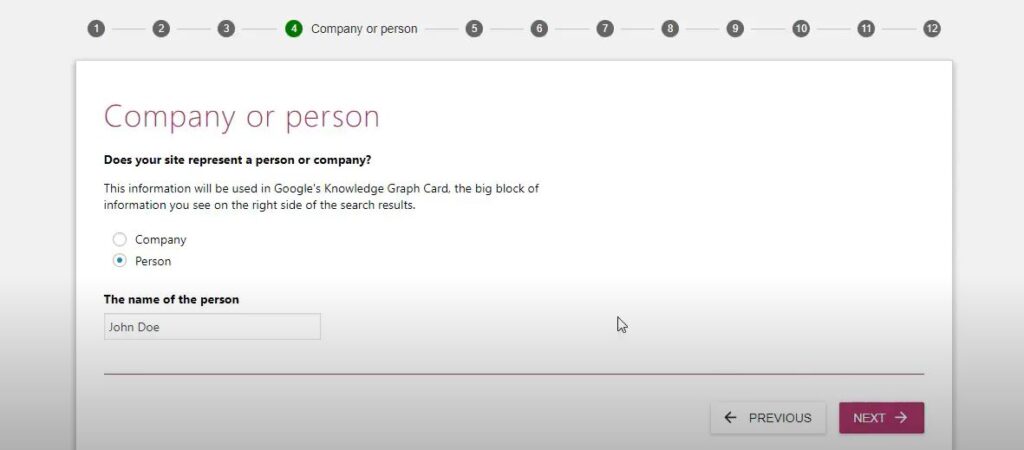
you have to choose an option of your website which represents a company or a person here. Choose appropriate option and click on next. If you choose person then you need to enter person name, if you choose company, then you need to type company name and logo of the company (website logo) here.
Yoast SEO social Profiles option:
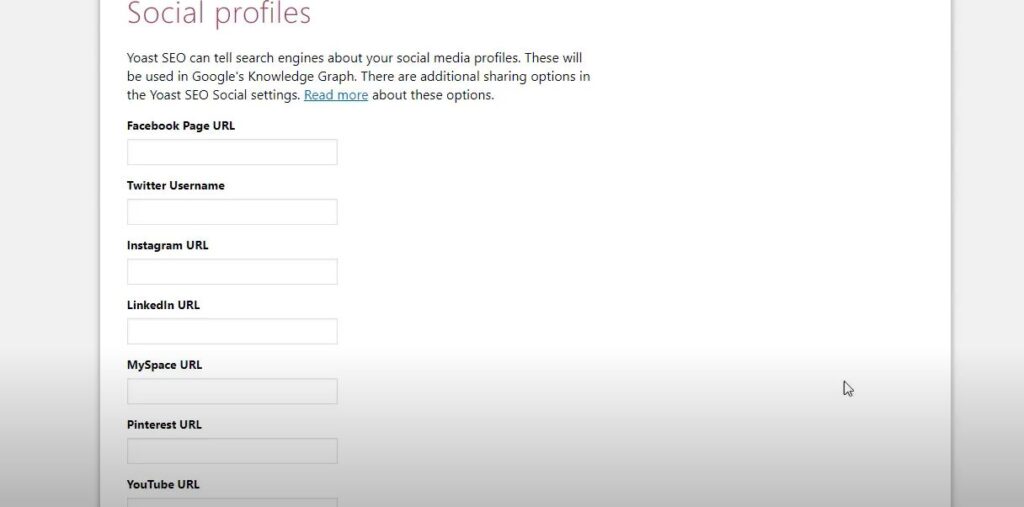
Now you need to provide information of your social profiles here like, Facebook, twitter username, Instagram url, LinkedIn URL, Myspace url, Pinterest url, YouTube URL and google plus url etc and Click next.
Note: It is very important to provide these social profile details here, as these information provided will be used in Google knowledge panel. If you want you can change settings using yoast social profile settings.
Yoast Search Engine Visibility:
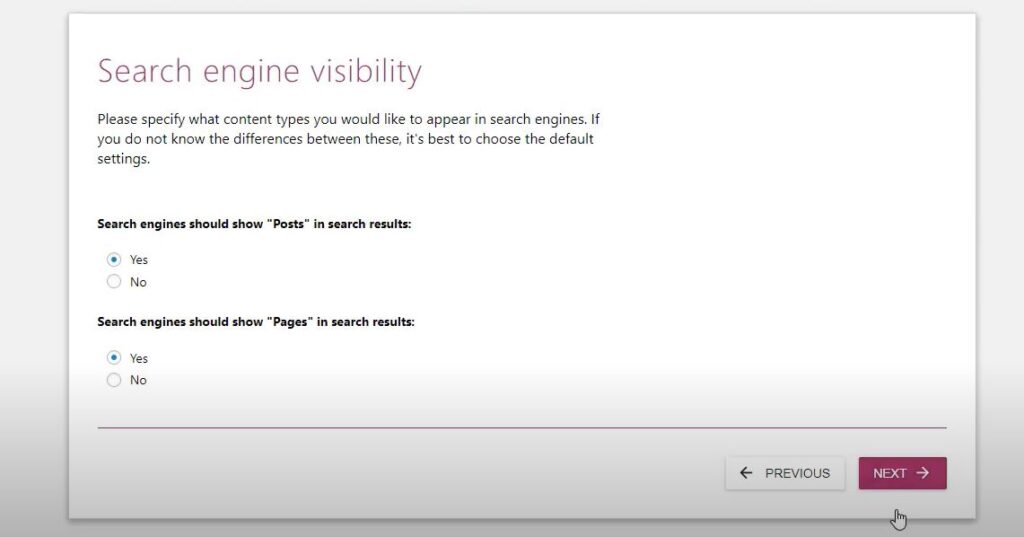
You need to choose these settings very carefully here, this will affect your website search engine visibility, if google is not indexing your website then you need to check these options once again and confirm the settings are set correctly to index your website.
Select search engine show pots in search results->choose yes (if you don’t want search engine to display then choose no – google will not index post type or posts).
Select search engines should show pages in search results->Choose yes (choose no if you don’t want search engine to show pages in search results).
Note: Posts and content types and pages are different in WordPress. These 3 will be considered differently by WordPress for its flexibility of displaying and routing and etc.
Once done selecting search engine visibility->click next.
Yoast SEO multiple author settings:
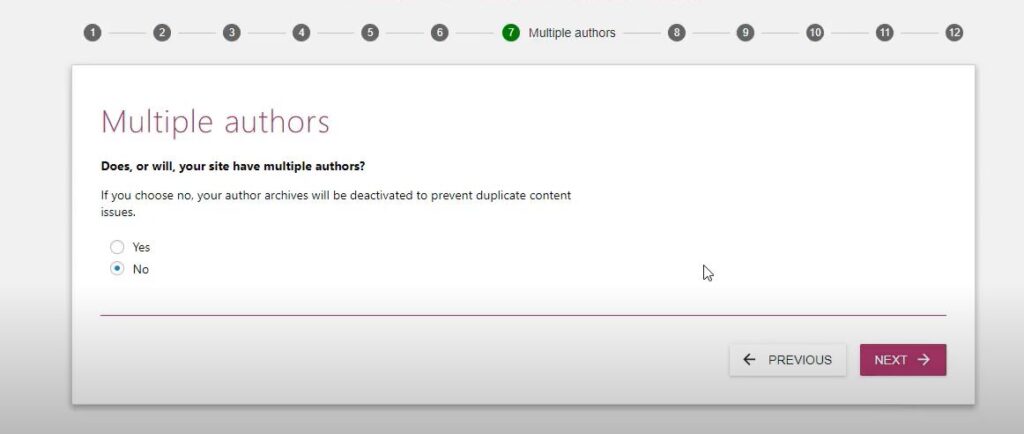
Now choose option here wisely, does or will your site have multiple authors->choose yes (for multiple author). If you choose no here your author archives will be deactivated to prevent duplicate content of your website to help google crawlers and avoid penalty of duplicate content. Click next once done.
Yoast SEO Google Search console settings:
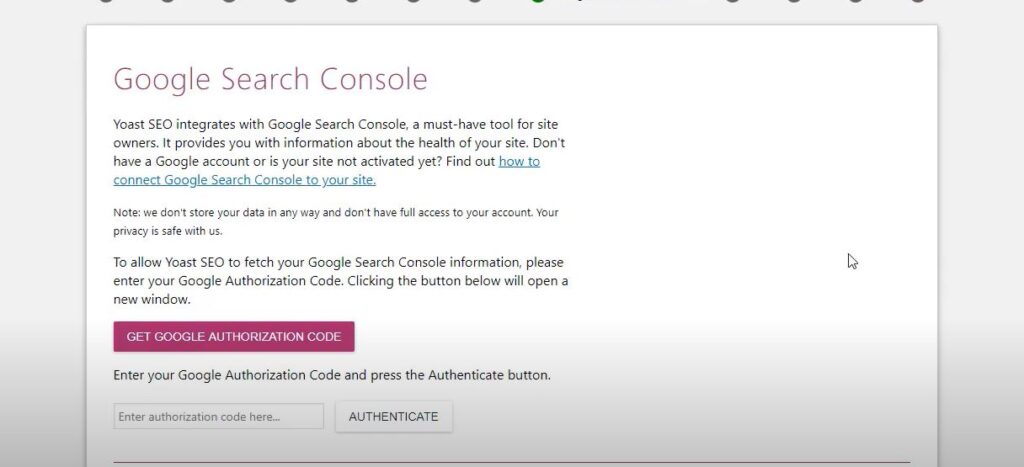
Yoast SEO is integrated with Google search console which is a handy tool provided by google, you can integrate directly into your WordPress website without logging in to google search console every time, If any errors gets triggered, Yoast SEO WordPress plugin will trigger notification directly in your WordPress dashboard.
To integrate you and get all your website and fetch all google search console information, you need to click on get google authentication code. Once you enter google authentication code press the activation button.
Once you integrate or connect Google Search Console to Yoast successfully, click on Next.
Yoast SEO site title settings:
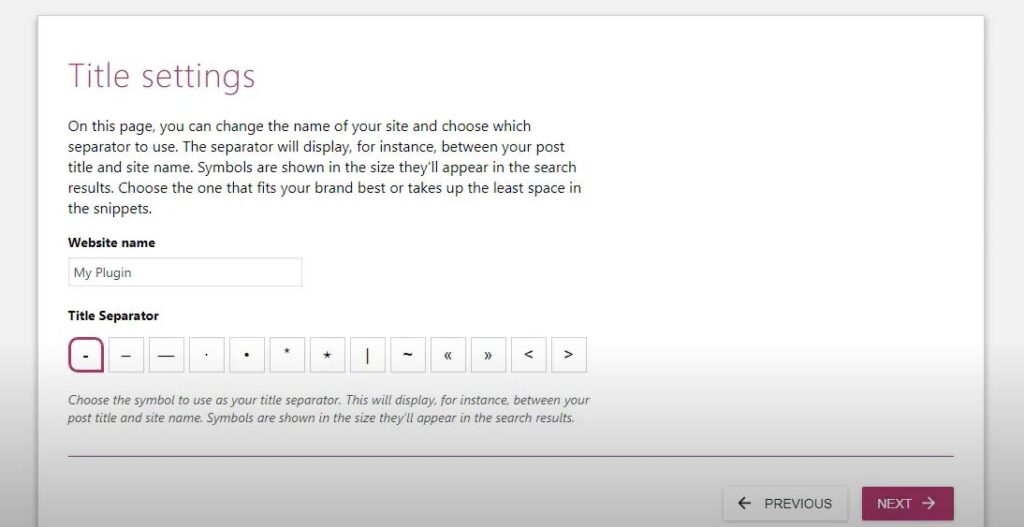
Now select the site title separator of your own and this will appear on the end of the site title or post tile, often it is selected and recommended to select hyphen or dash symbol and click next.
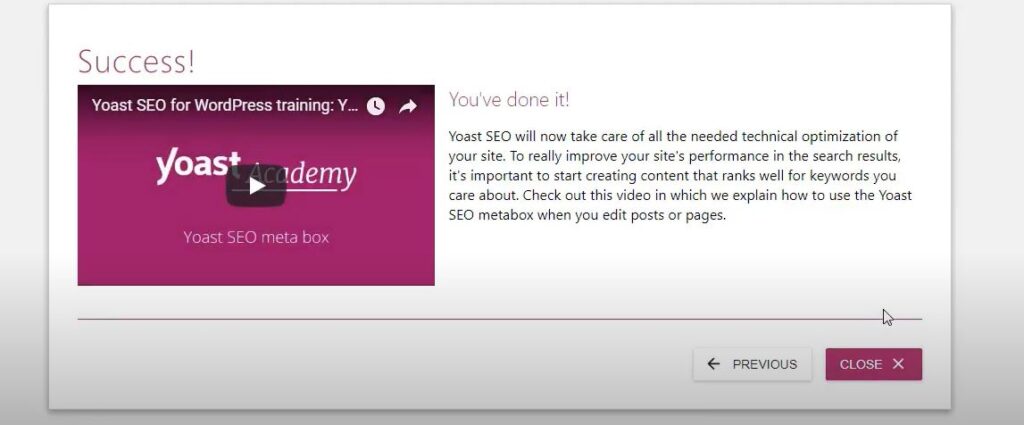
That’s it now you can skip the rest of the settings, once you are done with all the above settings successfully, then you have setup Yoast SEO for WordPress successfully.
Note: Make sure you are not blocking Google by robots.txt or selecting option of search engine visibility to no.
Check whether search engine visibility is set to not to index posts, if it is set to not to index then choose option set to index and let google index to gain search engine visibility.
In Yoast setting, navigate to Yoast site title settings and change symbol to appear after site title or post title.